


Posted on April 18, 2017 in Blog
Looking for off-the-shelf rooflights?
Visit our online rooflight shop, rooflights.com
Posted on April 18, 2017 in Blog
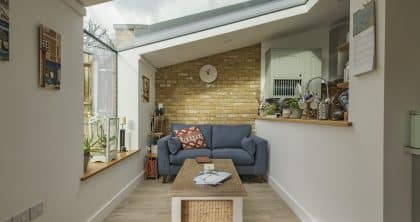
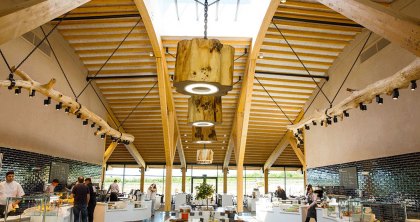
The benefits of specifying rooflights and roof windows are clear: they provide high levels of natural light, they can be wonderful sources of ventilation, and they contribute to the thermal comfort of a building. Roof windows and rooflights also provide an aesthetically pleasing addition to the external appearance of a property.
But what else should you consider to ensure the specification runs smoothly once it gets to site? Roof windows and rooflights are generally easy to install, but knowing what to expect can help to ensure things go smoothly.
Glazing Vision recently spoke to Clarkson Builders about how to ensure proper specification and keep work on-site progressing as expected. Here are the things they recommend specifiers should be aware of:
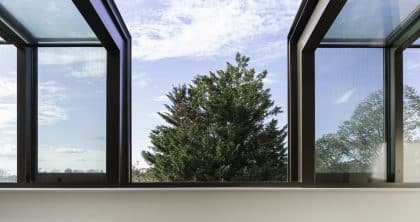
Roof windows and rooflights come in an array of shapes and sizes, and choosing the right dimensions for your project is critical.
The ‘standard’ for roof windows is 900x600mm, and these are installed between rafters at 600mm centres. Other common sizes are 980x980mm and 900x1200mm – the latter is designed to fit in a double-rafter space. They can also be provided in much larger sizes – for example, Glazing Vision Pitchglaze windows can measure up to 3000x1000mm.
The most effective way of supporting a roof window is to use double trimmers for horizontal support and double rafters for vertical support. Double hangers are placed in each corner, and single hangers are located around connected rafters.
The double supports comprise two pieces of rafter timber with 600mm centres (either C16 or C24 between 100x50mm or 225x50mm, depending on specification and structural calculations). The rafters should be fixed together with bulldog timber connectors and M12 bolts.
When fixing the timber, the head of the bolt should be recessed on the side of the wood to which the rooflight will be fixed. Otherwise, it could protrude into the area beneath the glazing.
As with all structural requirements, relevant calculations should be carried out by a qualified structural engineer.
Remember that the size of the window aperture may not be the size of the window itself. The actual requirements will depend on the individual roof window, so be sure to consult the installation guide early in the planning stages.
When preparing the rafters, consider how elements like the insulation sarking and the ends of the battens will be supported. The roofing underlay should be folded back and fixed appropriately.
Other elements will also need to be added to the roof, such as tilting fillets, battens and flashing. Out-of-plane rooflights will also require the construction of a window kerb.
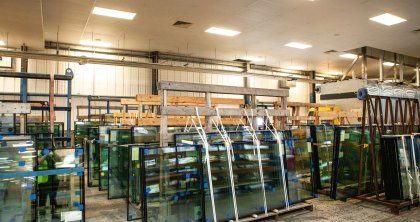
Take time to consider how rooflights and roof windows will get to site – and once there, how will the units be stored to ensure they aren’t damaged.
Some manufacturers, such as Rooflights.com, offer free delivery through an online shop and by choosing next-day delivery, you can minimise the on-site storage requirements.
In addition, don’t underestimate the weight of a roof window. A small, 750x750mm laminated rooflight weighs just over 31kg, and the units can reach more than 150kg, depending on the size and type of glazing.
Heavier units should also be assessed in terms of Health and Safety. In some cases, mechanical assistance may be required for moving the roof windows around site safely.
In most cases, construction materials are delivered ‘to the kerb’, and this is the case for rooflights and roof windows. Unless you have a particularly obliging driver, you will need to work out how to get the unit onto the roof.
As discussed in the previous section, roof windows can be very heavy and lifting them in a way that avoids damage or injury will require careful planning. It could also incur extra costs – you may need to hire lifting equipment for bulky units, or for hard-to-access locations.
Many roof windows come with an installation guide that actually covers multiple products – and those products can look very similar while having slightly different fixings and flashings. If these instructions aren’t followed correctly, it could impact the installation process and how the roof window or rooflight performs.
Be sure to check the instructions to ensure that the installation team has the right tools. Depending on the manufacturer, special drill bits may be required. For example, Velux windows use a screw that uses a T20 drill bit that’s commonly used for day-to-day work on building sites.
Roof windows are usually found on pitched roofs (unlike roof lights, typically found on flat roofs).
When tiling around roof windows, it’s important to ensure that the bottom tile is not too close to the window, as the flashing cannot be installed correctly. The best way to plan the tile gauge is to measure from the bottom of the roof, as this allows for the best finish and helps to ensure the roof window performance isn’t compromised.
When using pantiles (these are usually made from concrete but may also be clay in heritage projects), be sure to chamfer the top of the bold roll beneath the window.
This should all be explained in the instruction manual, which should outline the distances to install your battens to the sides, top and bottom of the window.
With so much to think about, it’s easy to see why it’s so important to look beyond appearance and performance of a building element at the specification stage. If you have any questions or concerns about a product you’re specifying, it’s a good idea to get answers and advice as soon as possible from the manufacturer.
Here at Glazing Vision, our technical support team is on-hand to provide assistance, and you can order next-day rooflights from Rooflights.com. We also offer a variety of resources to help you learn more about our range of products, including our RIBA-approved CPD.
Why do need this? - Additional Information
By providing this information, it allows us to forward your enquiry on to your local Technical Specification Manager and enables them to provide you with a formal quotation quicker.